Boober was born on December 10 last year. Yes, he arrived before Christmas -- but we completely ignored his arrival for his first Christmas. There were a lot of valid reasons.
In all honesty, I think of this year as Boober's first Christmas. We've picked up some fun stuff for him. I think he'll have a great day. And now I've made him a perfectly lovely stocking - and I hope he'll like it!
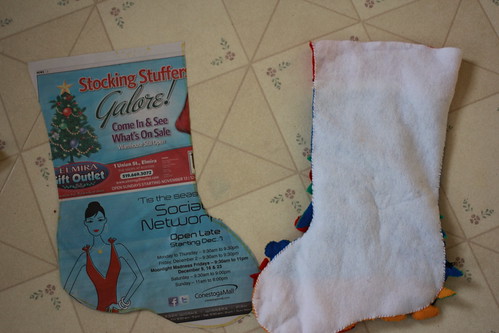
First, I took Mr. Wonderful's stocking - which is the perfect shape and size - and used it as a template.
Once I had the pattern, I cut out: 2 of the patterned fabric, 2 'warm and natural' cotton batting and 2 plain inside pieces.
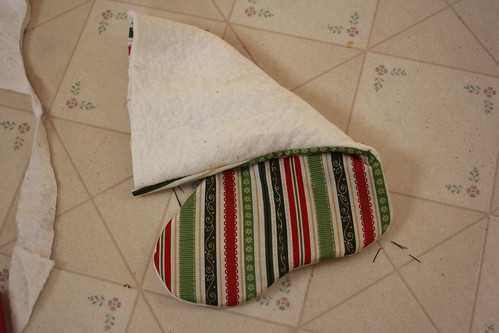
Then I immediately messed everything up by doing this:

Yeah . . . don't do that. If you do that, you get this:
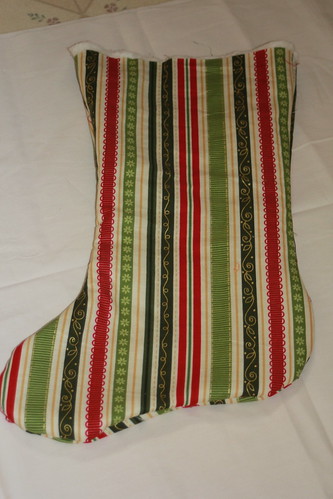
Instead, put the patterned pieces right sides together, INSIDE the batting. Then when you turn it right side out, you'll get this:
Sew together the plain lining pieces. Don't turn the piece after you've sewn it, just shove it in there and smooth everything out.
Then I took a length of ribbon, and some furry trim I had on hand, and I eyeballed out the trim. Inside the stocking, I layered the ribbon and the trim, then sewed around. It looked like this:
Then I just flipped everything to the outside, et voila!
I was definitely inspired by a tutorial I saw online - but I couldn't be bothered to look it up to follow the directions. Maybe this is mostly the same, maybe it isn't. I don't even know - because I never got past reading the materials section of that tutorial.
So . . . enjoy! I have a bunch more of these to whip up.


